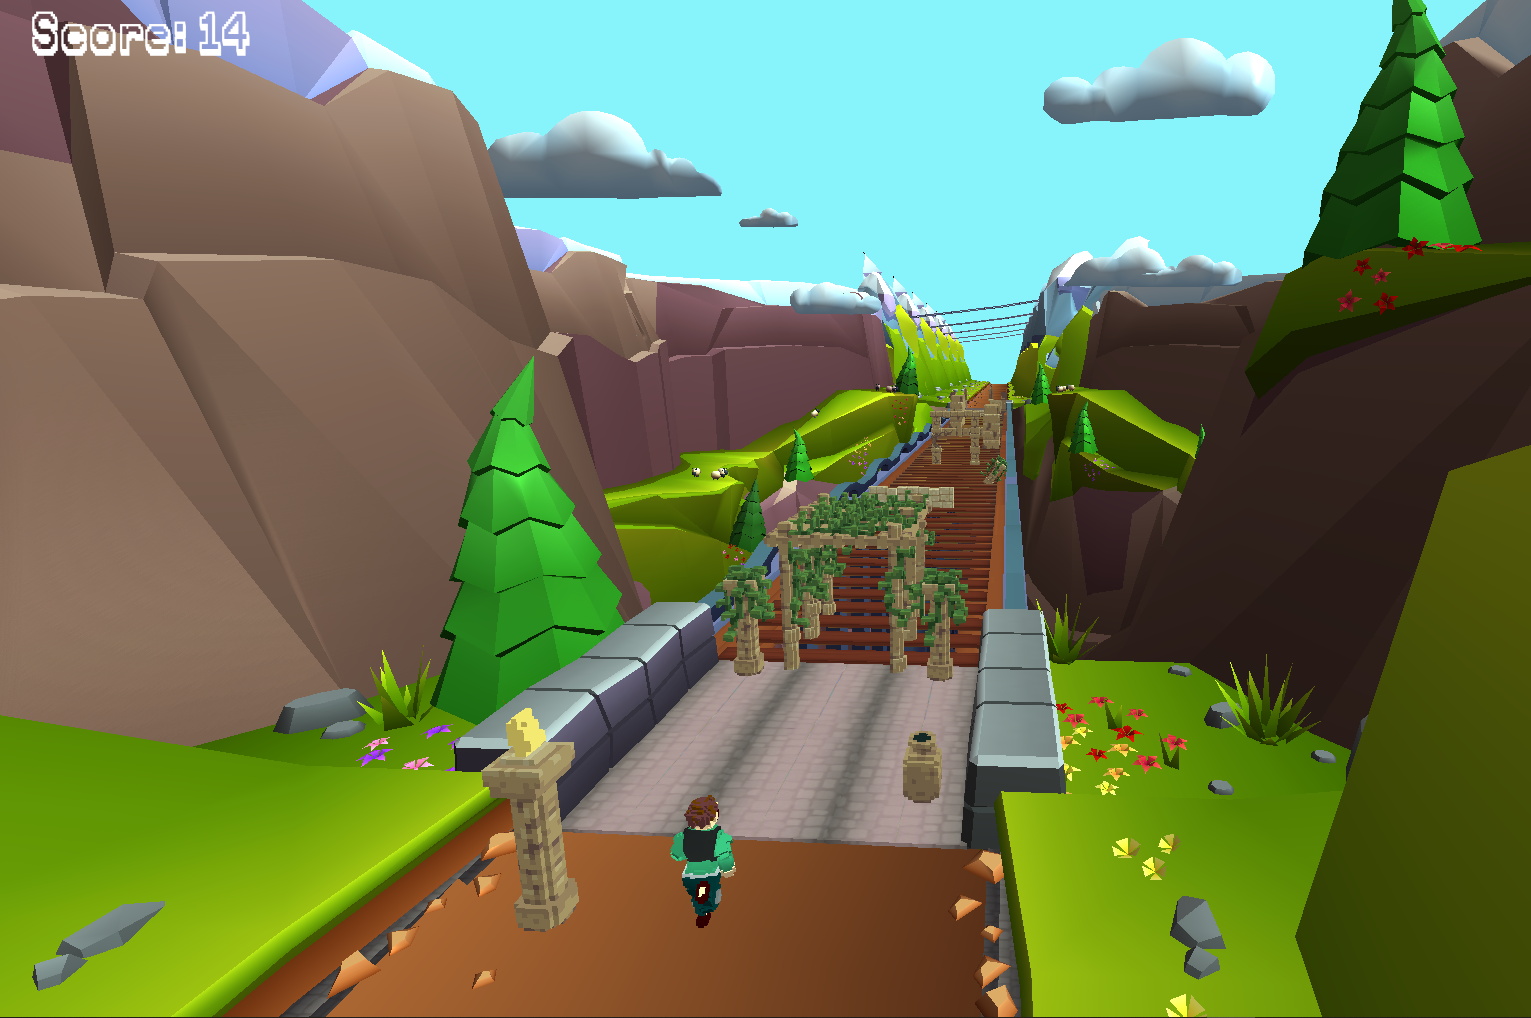
Pitfall 3D
During this block, I dove into the challenge of transforming my 2D platformer from last block into a 3D game on the Raspberry Pi. I got to play with OpenGLES for 3D rendering, tangled with Bullet Physics for 3D game physics, and wrapped my head around managing 3D worlds and shaders.
The core of the project was about adaptation. The fundamentals I knew from 2D game development and rethinking them in a 3D context. It was more than just learning new tools; it was about changing the way I approach game design, from flat planes to a world with depth.
This time instead of using a template from the teachers, I decided to start from scratch. This meant I
had to create
a C++ project with my own window creation, input handling, rendering, etc. While this may sound easy I
also had to make it
cross-platform for both Windows and Linux, without using Cmake. This teached me a lot about
cross-platform development.
Things I learned in this block are:
- 3D Rendering using OpenGLES
- Cross-Platform Development
- 3D Physics
- Shader Programming
- 3D Mathematics (Vectors, Matrices, Transformations)
- 3D rendering techniques and optimizations
- ImGui
- Blender
Below You can view some more features I made for this project that I'm proud of.
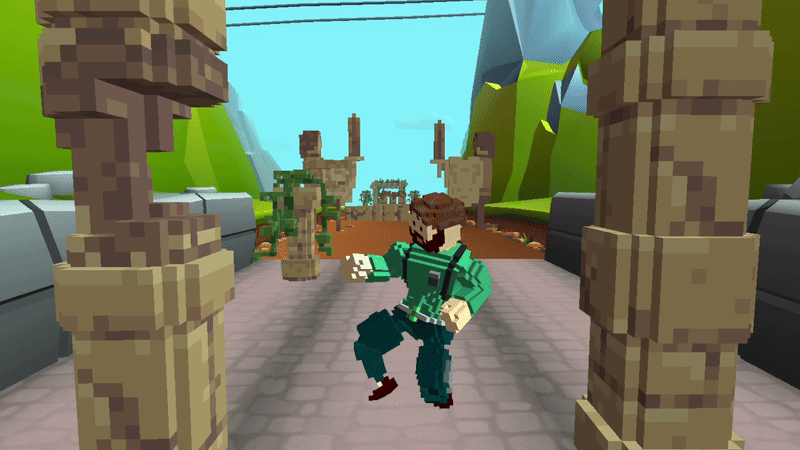
Skeletal Animations
I wanted to make my game look more alive. That's why I decided to add skeletal animations to my game.
This way I was able to make my character move more naturally. I used a software called Mixamo to
download animations
uses blender to combine the animations and then exported them to my game.
I then wrote a function that reads the animations and applies them to my character. This way I was able
to make my character run, jump, slide, fall and... Dance!
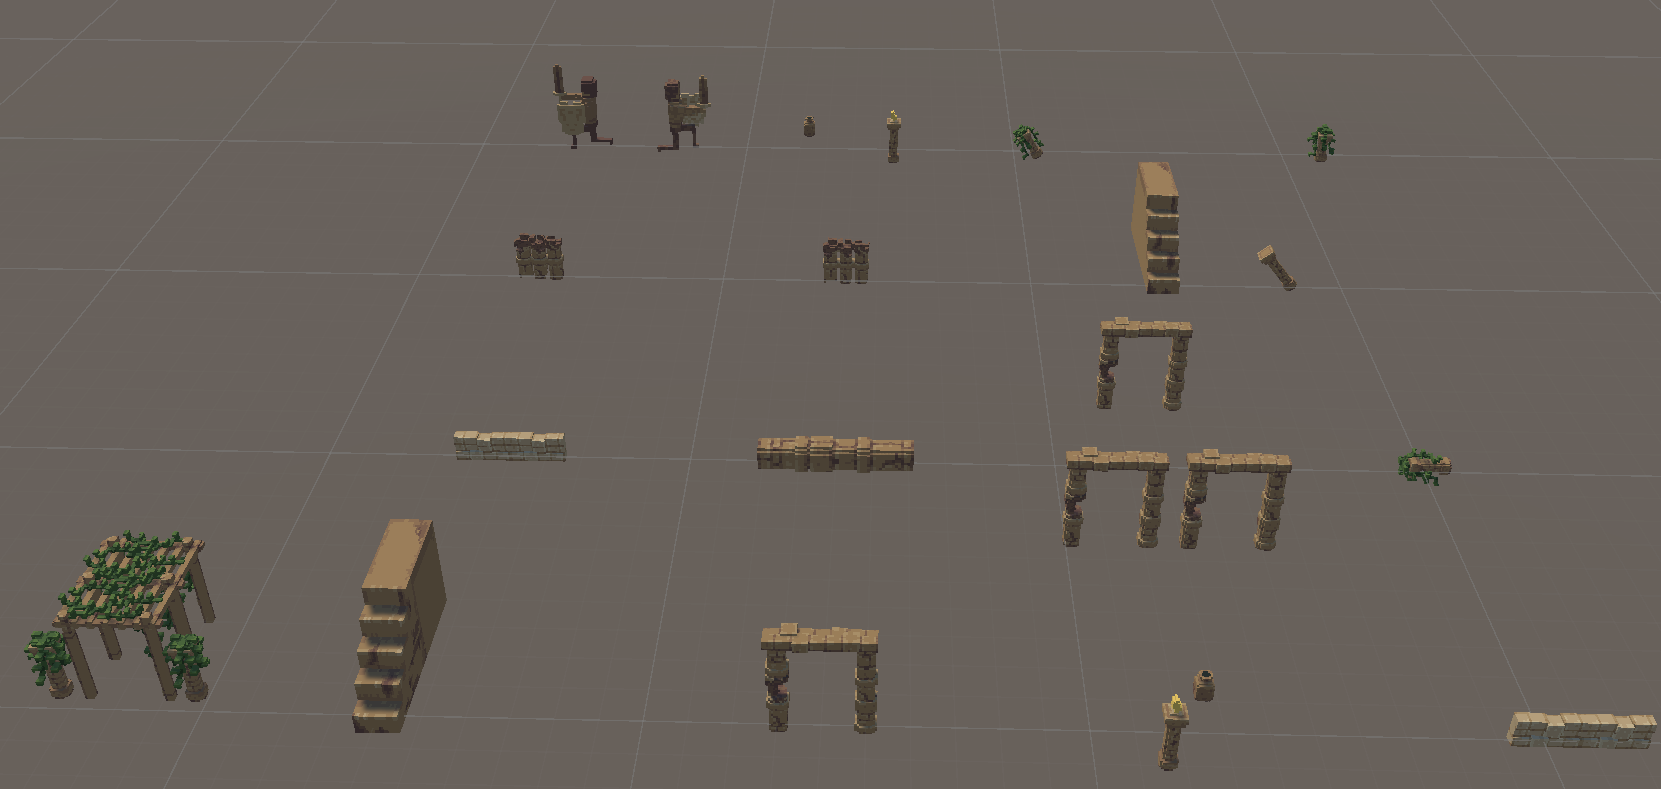
Easy Obstacle Maker
I wanted to make it easy for myself to create levels. That's why I decided to make a level editor.
This way I was able to easily create levels and obstacles for my game.
I used the game engine Unity to place the obstacles to the position/rotation/scale I wanted them to be.
I then wrote a Javascript/NodeJS script that converts a Unity prefab file to a Json format that my game
can read.
This way I was able to easily create levels and obstacles for my game. and allowed me to easily change
the level without having to recompile the game.
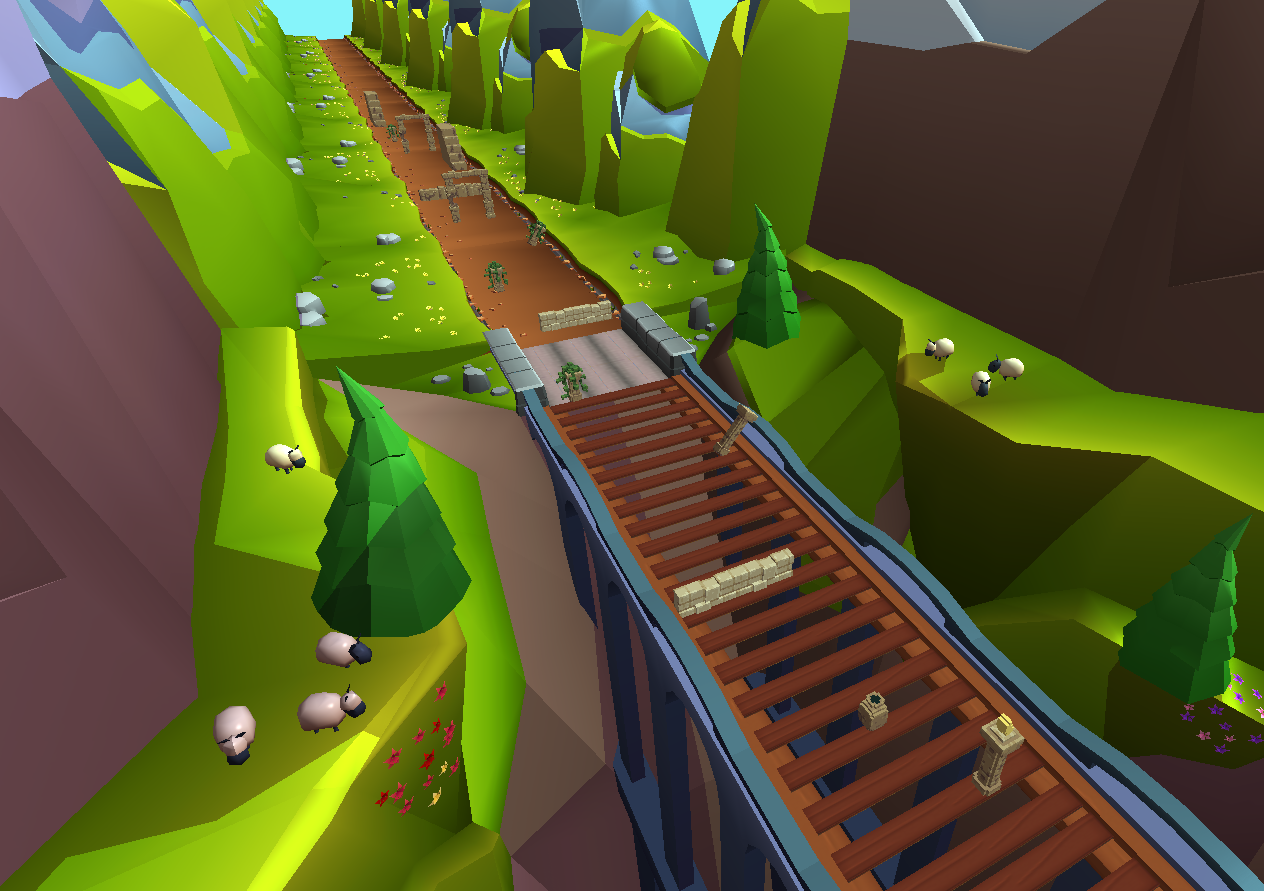
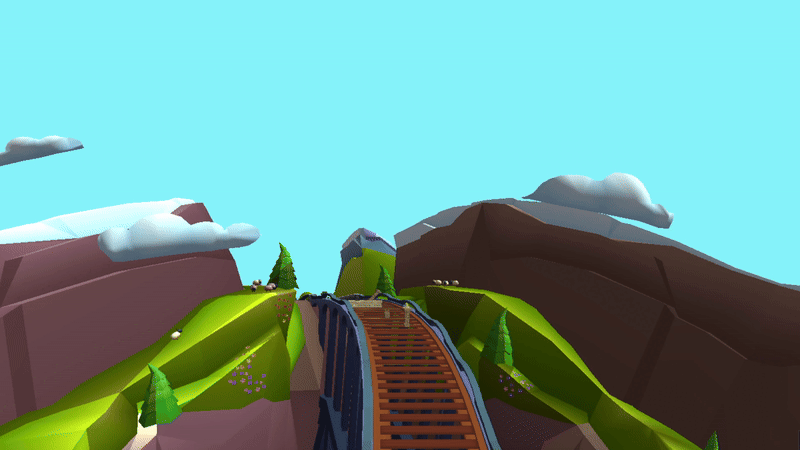
Cruve Shader
Using shaders I was able to make my game look more polished. I used a
curve shader to make the world look like it was a 3D world curving away from the player.
Another shader I used was a fog shader to hide the end of the world. This way the player can't see
the objects popping in and out of the world.
Images of the shaders in action can be seen below.

GPU Instancing
When making a 3D game, performance is key, especially when working on a Raspberry pi.
When you're programming in C++ you're basically making code for the CPU. The CPU is quite fast for most
things,
but when it comes to rendering 3D objects, it's not the best. Thats why we use the GPU. The way this
works is basically like this:
The CPU loads the 3D models and textures into memory, it then needs to send this data to the GPU for
each frame.
The GPU then takes this data and renders it to the screen.
Sadly sending data to the GPU is quite slow. Thats why you want to send as little data as possible.
Now you can imagine that if you have 1000 trees in your game, you don't want to send 100 calls with the
data of each tree to the GPU every single frame.
This is where GPU instancing comes in.
Instead of sending each tree seperately, you can send the data of 1 tree to the GPU and then tell the
GPU to render
this tree 1000 times. This way you only need to send the data of 1 tree to the GPU instead of 1000
trees.
Image below shows the difference between having no instancing and having instancing enabled.
300%
performance increase on the Raspberry pi!

Feedback from Teachers